¶ Install NGINX Proxy Server to Ubuntu 22.04
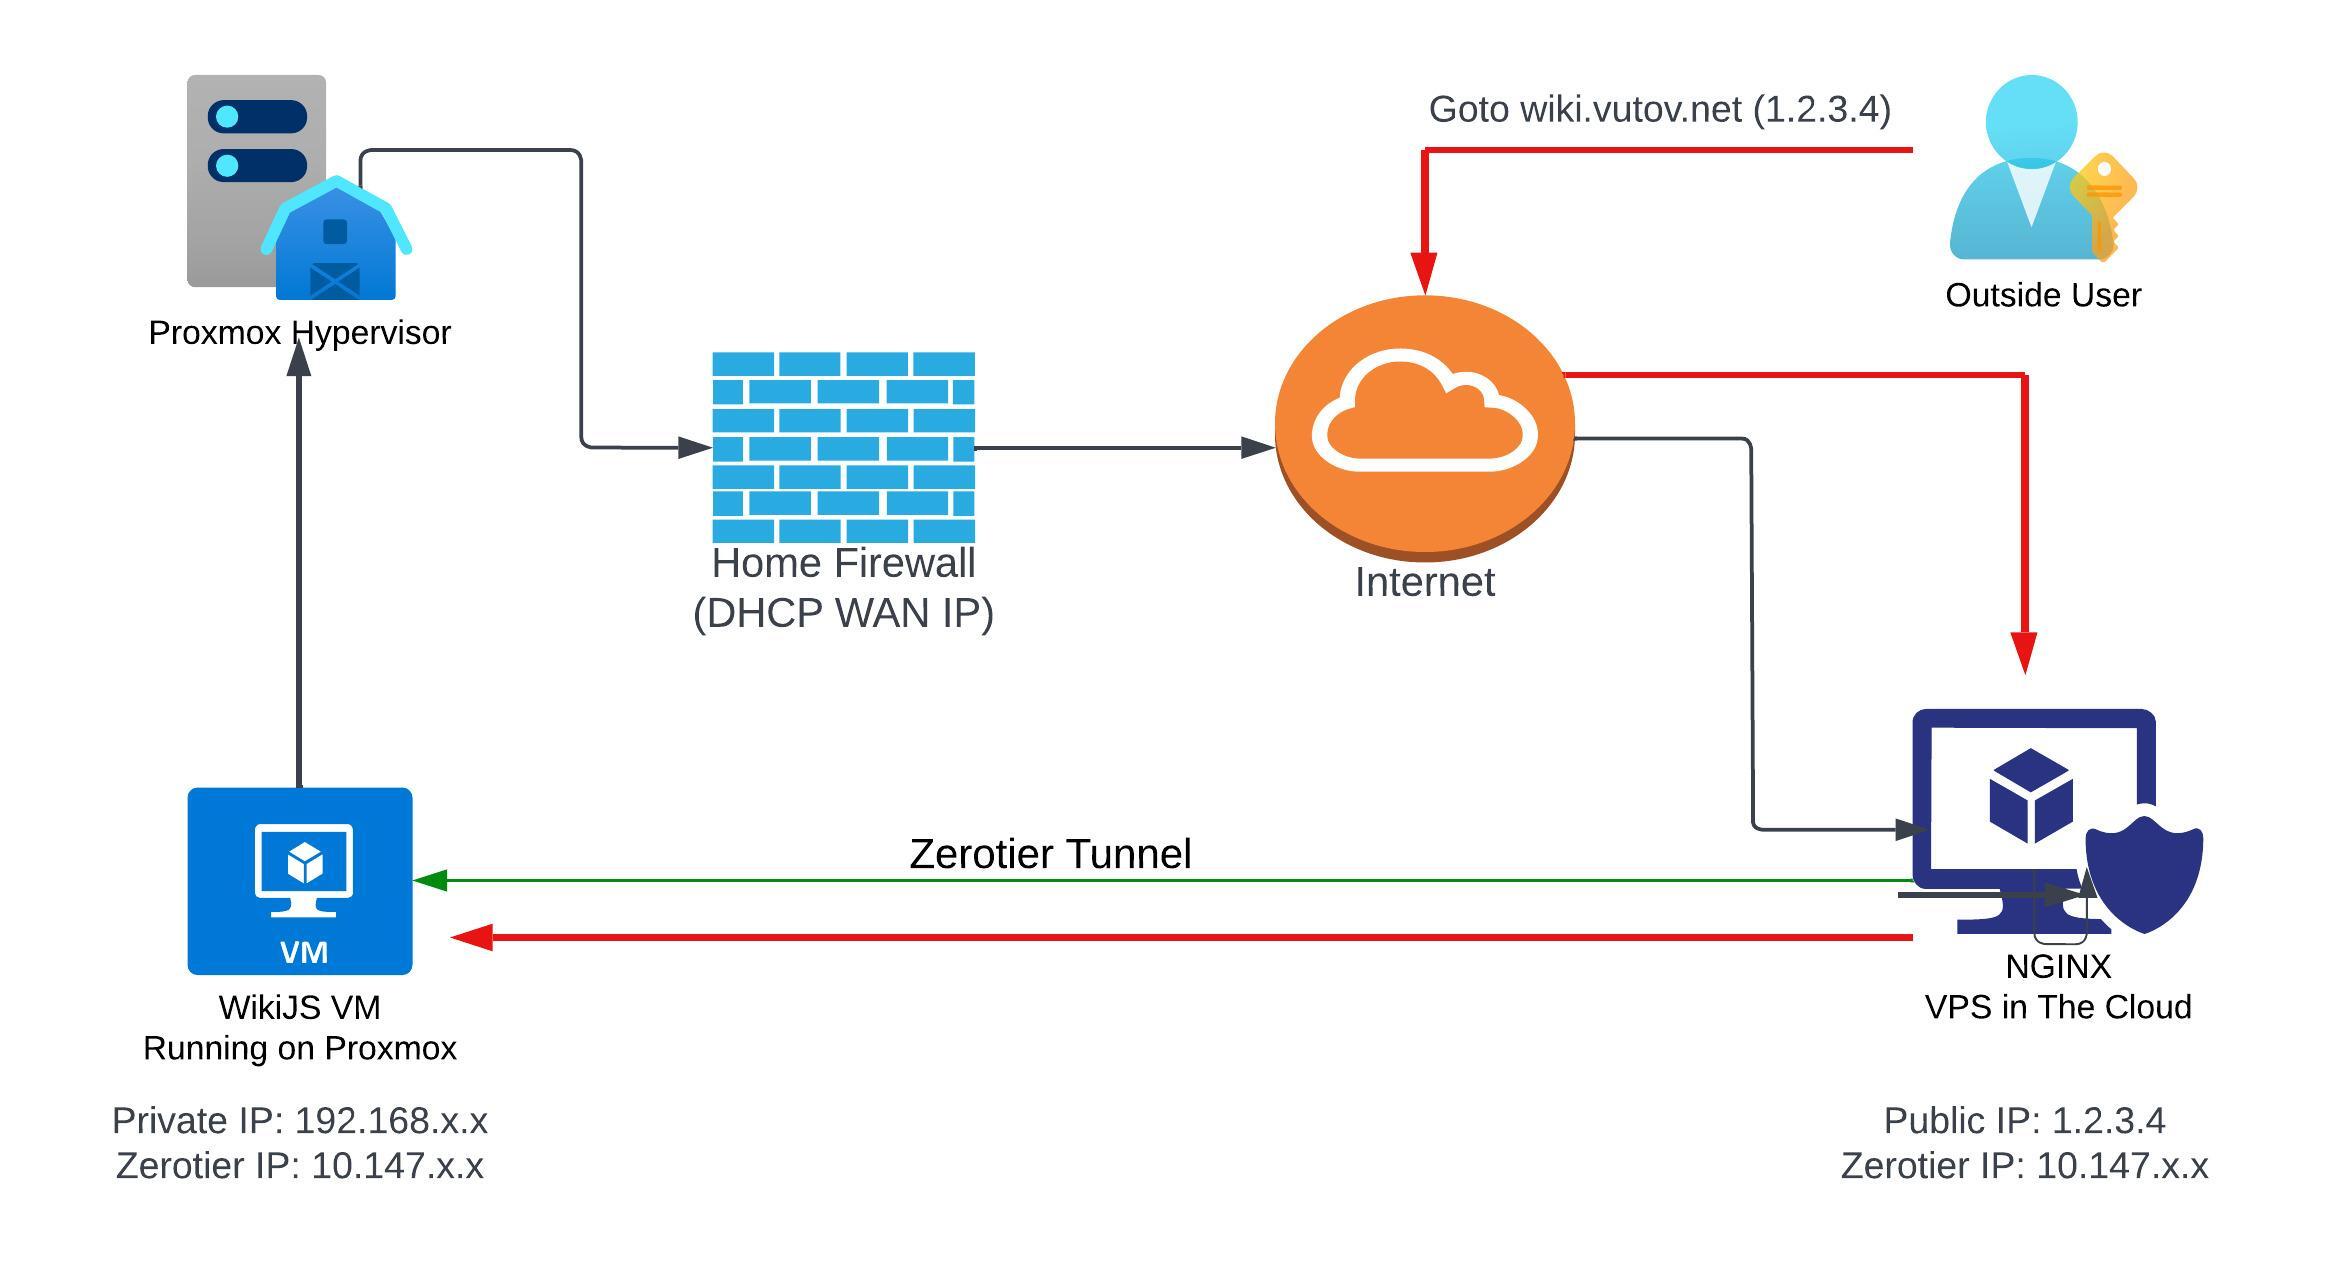
¶ Network Diagram
¶ Update the Linux host
After a fresh install we need up update the system.
- Copy and paste the following commands to update the system and kernel to the latest versions
 sudo apt update
 sudo apt-get upgrade
 sudo apt-get dist-upgrade
¶ Prerequisites
- We need SQLite3 installed. Just type the commands in the block below
sudo apt install sqlite3
In order to check if all went good and to see the version installed type the command in the block below
sqlite3 --version
This will output something like similar to the line below:
3.37.2 2022-01-06 13:25:41 872ba256cbf61d9290b571c0e6d82a20c224ca3ad82971edc46b29818d5dalt1**
- Now we need to install docker and docker compose. Type the commands in the block below
sudo apt update
sudo apt install apt-transport-https ca-certificates curl software-properties-common
curl -fsSL https://download.docker.com/linux/ubuntu/gpg | sudo gpg --dearmor -o /usr/share/keyrings/docker-archive-keyring.gpg
echo "deb [arch=$(dpkg --print-architecture) signed-by=/usr/share/keyrings/docker-archive-keyring.gpg] https://download.docker.com/linux/ubuntu $(lsb_release -cs) stable" | sudo tee /etc/apt/sources.list.d/docker.list > /dev/null
sudo apt update
sudo apt-cache policy docker-ce
sudo apt install docker-ce
sudo apt install docker-compose
Once docker is installed we need to make sure that it is running. Type the command in the block below
sudo systemctl status docker
This will show you something similar to the output below. You are looking for Active: active (running) and no errors. If that's the case you are good to go and can move on to the next step.
root@apex:~# sudo systemctl status docker
● docker.service - Docker Application Container Engine
   Loaded: loaded (/lib/systemd/system/docker.service; enabled; vendor preset: enabled)
   Active: active (running) since Mon 2023-10-30 00:14:16 UTC; 2 weeks 1 day ago
TriggeredBy: ● docker.socket
     Docs: https://docs.docker.com
 Main PID: 17616 (dockerd)
    Tasks: 61
   Memory: 1007.1M
      CPU: 4min 52.671s
¶ Install the NGINX proxy manager docker container
The assumes an installation in the /opt//opt/nginxproxymanager directory
In the next step we will create the directories for the proxy manager, a blank file for the database and a new docker network called nginxproxyman. Type the commands listed in the block below
 mkdir /opt/nginxproxymanager
 mkdir /opt/nginxproxymanager/databases
 touch /opt/nginxproxymanager/databases/nginxproxy.db
 docker network create nginxproxyman
Now let's change directory to /opt//opt/nginxproxymanager and edit the docker compose file.
cd /opt/nginxproxymanager
sudo nano /opt/nginxproxymanager/docker-compose.yml
The file should look like the code segment below.
version: "3"
services:
  app:
    image: 'jc21/nginx-proxy-manager:latest'
    container_name: 'nginxproxymanager'
    restart: unless-stopped
    ports:
      - '80:80'
      - '443:443'
      - '81:81'
    environment:
      DB_SQLITE_FILE: "/data/database.sqlite"

    volumes:
      - ./data:/data
      - ./letsencrypt:/etc/letsencrypt

networks:
  default:
    external:
      name: nginxproxyman
Once done save it by pressing CTRL+X and they Y
Now let's fire up the container. Type the command in the block below
sudo docker-compose up -d
It will go and do its thing and once it is done. Type the following command to make sure it is running
sudo docker ps
If all is good you will see a result similar to the output shown below
sudo docker ps
CONTAINER ID   IMAGE                             COMMAND   CREATED       STATUS       PORTS                                                                                  NAMES
e0ee6df8e9a0   jc21/nginx-proxy-manager:latest   "/init"   2 weeks ago   Up 2 weeks   0.0.0.0:80-81->80-81/tcp, :::80-81->80-81/tcp, 0.0.0.0:443->443/tcp, :::443->443/tcp   nginxproxymanager
¶ NGINX Proxy Manager First Login
Please be smart and do change the default username and password.
Point your web browser to http://your-ip-address:81
- The default username is: admin@example.com
- The default password is: changeme
¶ Configure your first host with SSL
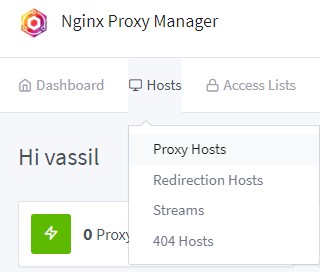
- Once you have changed the default user and password you can login to NGINX and create your first host/map. On the top navigation bar click on Hosts and selct Proxy Hosts
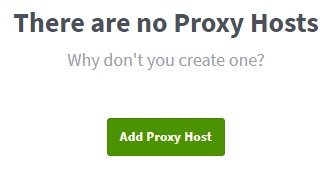
- On the next screen click on the button that says Add Proxy Host
- On this screen we need to put a *FQDN (Fully Qualified Domain Name) of the proxy host. The scheme is http and the forward IP is the private IP and port number of host behing the firewall. Make sure you select Publicly Accessible
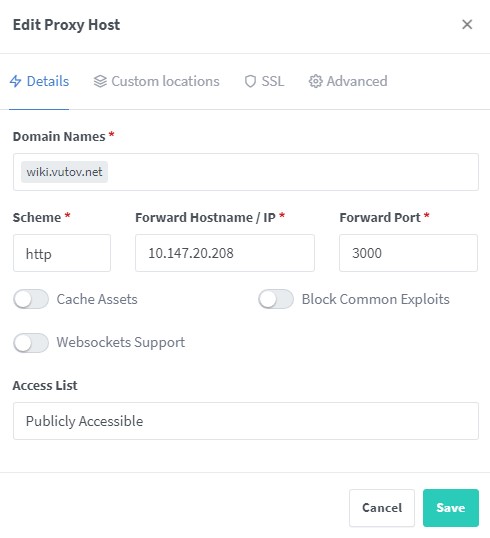
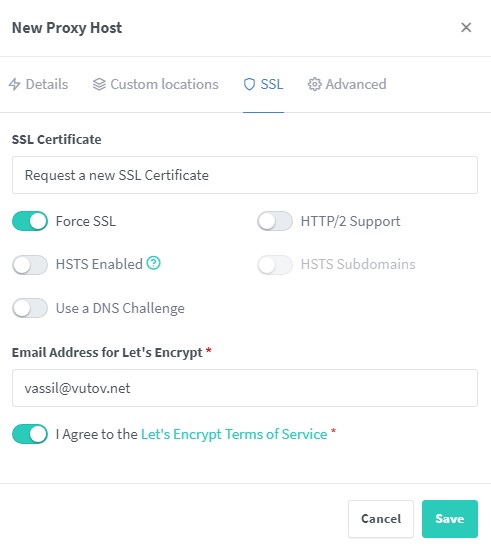
- Click on the SSL tab and under SSL Certificate select Request a new SSL Certificate and toggle Force SSL. Make sure to provide a valid email address for Let's Encrypt. Finally click on Save
You are done!